
Did you know that learning how to fix a leaky faucet could save you up to $100 in water costs every year? Surprisingly, a major faucet leak can waste as much as 30 gallons of water per day!
Fortunately, fixing a leaky faucet is a simple and inexpensive task that most homeowners can complete without calling a professional plumber. In fact, most faucet leaks stem from worn washers, loose O-rings, or rust in the valve seat – all issues you can address yourself in about 30 minutes.
While faucets typically last 10-15 years, common problems like drips, irregular water flow, or squeaking noises can develop over time. However, with basic tools like Teflon tape, screwdrivers, and an adjustable wrench, you can tackle your faucet leak by simply turning off the water supply, disassembling the faucet, and replacing the damaged parts.
In this guide, we’ll walk you through the entire leaky faucet repair process step by step. By the end, you’ll have all the knowledge you need to fix that annoying drip and save both water and money. Let’s get started!
Turn Off the Water and Prepare the Area
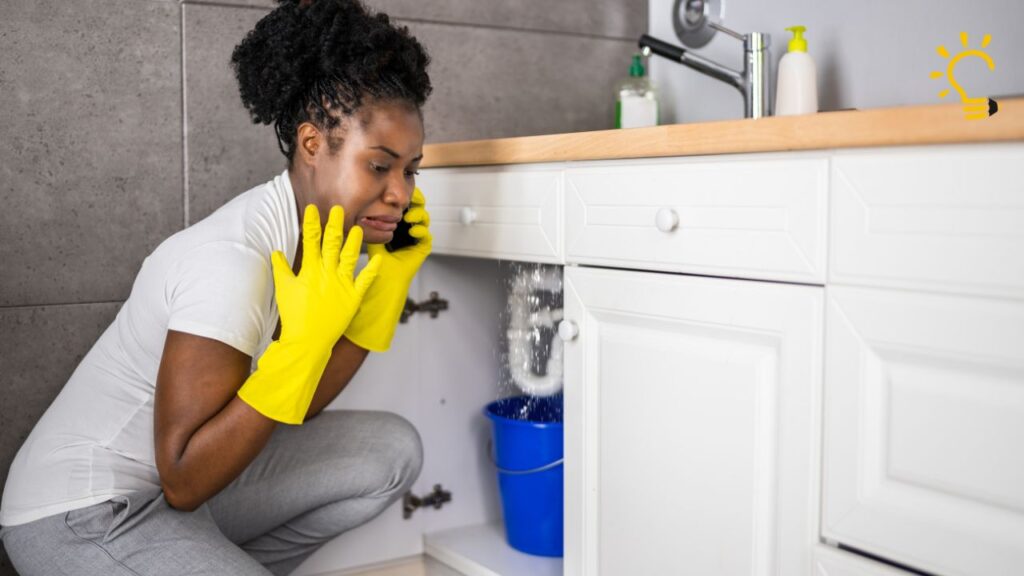
The first step in fixing a leaky faucet is ensuring you don’t create a bigger water problem in the process. Before grabbing your tools, you need to properly shut off the water supply.
First, locate the shut-off valves positioned under your sink. Most sinks have two valves—one for hot water and one for cold water. Turn both valves clockwise until they stop to completely shut off the water flow to your faucet. If these valves are stuck or you can’t locate them, you’ll need to shut off the main water valve for your entire home.
Next, turn on the faucet handles to release any remaining water and pressure in the lines. This simple step prevents unexpected splashing when you disassemble the faucet and confirms that you’ve successfully turned off the water supply.
Before moving forward, protect your work area. Place a towel or small tarp in the sink basin to create a soft landing surface for small parts. Additionally, cover the drain opening either with a sink stopper or a cloth. This precaution prevents tiny screws or washers from falling down the drain, which would turn a simple repair into a much bigger headache.
Now gather all necessary tools before you start disassembling anything:
- Adjustable wrench
- Both flathead and Phillips head screwdrivers
- Needle-nose pliers
- Replacement parts (washers, O-rings)
- Teflon tape
- Utility knife
- Clean rags for wiping and drying
For extra protection, consider wrapping any shiny parts of your faucet with masking tape to prevent scratches from your tools. If you’ll be using any chemical solvents, ensure the area is well-ventilated.
Taking these preparatory steps might seem time-consuming, but they’re crucial for a smooth repair process. With the water turned off and your workspace properly organized, you’re now ready to disassemble the faucet and identify the specific cause of your leak.
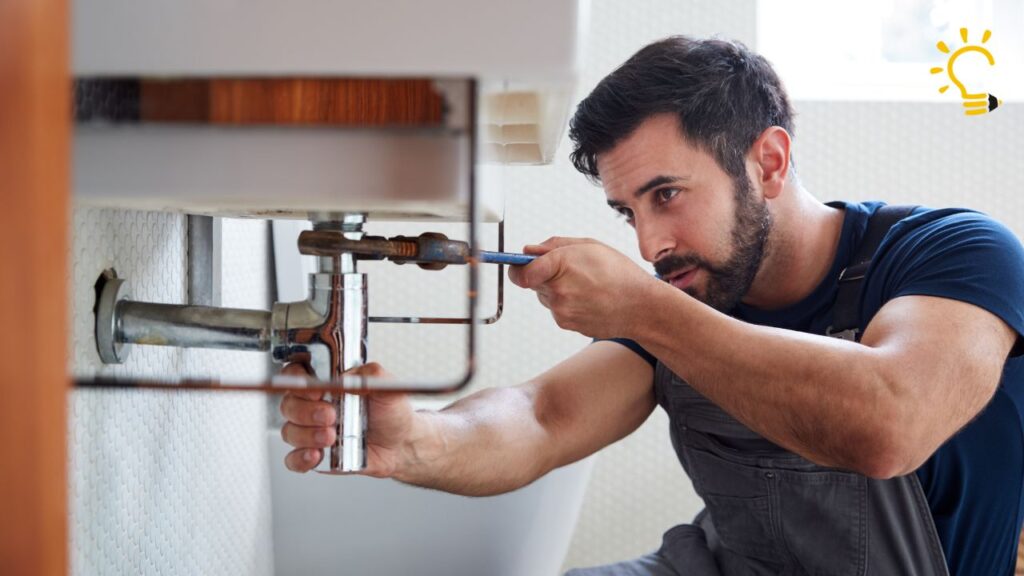
Disassemble the Faucet and Identify the Problem
Now comes the detective work of fixing your leaky faucet—taking it apart to find the source of that annoying drip. With the water turned off and your workspace prepared, it’s time to disassemble the faucet and identify what’s causing the problem.
Firstly, you’ll need to remove the faucet handle. The method varies depending on your faucet type:
- For handles with a decorative cap, use a flat screwdriver to carefully pry it off, revealing a screw underneath
- If there’s a set screw behind the handle, insert an Allen wrench or hex key to loosen it
- For shower or bathtub faucets, remove any cap with a flat screwdriver, then unscrew the handle
Once the handle is free, you’ll see the valve stem or cartridge. Use an adjustable wrench to loosen the packing nut in the handle assembly. Gently pull the stem or cartridge straight up and out. Throughout this process, lay out parts in order as you remove them—this makes reassembly much easier later.
Consequently, it’s time for a thorough inspection of all components. Look specifically for:
- Worn-out rubber washers (especially in compression faucets)
- Cracked or damaged O-rings around the valve stem
- Corroded valve seats where the faucet connects to the spout
- Mineral deposits or sediment buildup
- Loose connections or components
The most common culprits behind a leaky faucet are typically worn washers, damaged O-rings, or corroded valve seats. If your faucet drips from the spout, the problem likely lies with the washer or valve seat. Meanwhile, leakage around the handle usually indicates a problematic O-ring.
Furthermore, examine all internal parts for cracks or excessive wear. Cartridges in single-handle faucets often develop problems that cause leaks. Ball-type faucets, typically found in kitchens, tend to leak more frequently as they contain more parts that can wear out.
Should you encounter stubborn parts during disassembly, applying penetrating oil and waiting 15 minutes can help loosen them. For parts with mineral buildup, soak them in white vinegar to dissolve deposits before inspection.
Replace Faulty Parts and Reassemble
With the faulty parts identified, it’s time to replace them and put your faucet back together. This final stage of repair requires attention to detail to ensure your leaky faucet problem is truly solved.
Once you’ve determined what’s causing the leak, thoroughly clean the area around the faucet housing. Use a clean cloth to remove any mineral deposits or debris before installing new parts. These deposits can interfere with proper sealing and cause persistent leaks.
For cartridge faucets, remove the old cartridge by pulling it straight up and out of the assembly. When installing the new cartridge, apply a thin layer of plumber’s grease around it to ensure smooth operation. Align the cartridge correctly with any notches in the faucet body, and then insert it carefully into place.
If your faucet has worn O-rings, replace them with exact-size matches. Remember to coat new O-rings with plumber’s grease or silicone lubricant before installation. This helps create a proper seal and prevents premature wear.
For ball-type faucets, replace both the seats and springs:
- Insert a hex wrench through each rubber seat
- Tilt slightly to catch the spring underneath
- Lift out the old seats and springs
- Install new components in the same position
After replacing all faulty parts, reassemble the faucet in reverse order of disassembly. Secure the packing nut with a wrench, but avoid over-tightening as this can damage components. Reattach any retaining clips that hold the cartridge in place.
Finally, reinstall the handle and tighten any set screws. For cartridge faucets with ceramic disks, turn the water on slowly at first to allow the ceramic disk to become wet gradually—turning it on forcefully right away may cause the disk to crack.
Test your repair by turning the water supply back on and running both hot and cold water through the faucet for several minutes. Check carefully for leaks around the handle and spout. If leaking persists, you might need to tighten connections slightly or replace additional parts.
Conclusion
Fixing a leaky faucet certainly doesn’t require professional help or advanced plumbing knowledge. Throughout this guide, we’ve walked through the complete process from shutting off your water supply to successfully reassembling your faucet with new parts. Most importantly, this simple DIY repair saves both water and money while preventing potential water damage to your home.
Remember, regular maintenance checks can help you spot faucet issues before they become serious problems. A quick inspection every few months will extend the life of your fixtures and prevent that annoying drip from returning. Additionally, keeping replacement parts like washers and O-rings on hand means you’ll be prepared when leaks eventually occur.
Though faucet repair might seem intimidating at first, the process becomes straightforward once you understand the basic components. We’ve seen how most leaks stem from worn washers, damaged O-rings, or corroded valve seats – all fixable within 30 minutes using basic tools.
The next time you notice a dripping faucet, you can confidently tackle the repair yourself rather than calling an expensive plumber. Your wallet will thank you, and you’ll gain valuable home maintenance skills along the way. After all, learning to fix common household problems yourself brings both satisfaction and significant long-term savings.
FAQs
Q1. How long does it typically take to fix a leaky faucet?
Most leaky faucets can be repaired in about 30 minutes with basic tools and the right replacement parts. The process involves turning off the water, disassembling the faucet, replacing faulty components, and reassembling it.
Q2. What are the most common causes of a leaky faucet?
The most frequent causes of faucet leaks are worn washers, damaged O-rings, or corroded valve seats. Other potential issues include loose connections, mineral buildup, or problems with the cartridge in single-handle faucets.
Q3. Do I need special tools to fix a leaky faucet?
While specialized plumbing tools can be helpful, most faucet repairs can be completed with common household tools. You’ll typically need an adjustable wrench, flathead and Phillips head screwdrivers, and needle-nose pliers. Having replacement parts on hand is also important.
Q4. Can I temporarily stop a faucet leak without replacing parts?
A temporary fix for a dripping faucet can be achieved by tying a string around the faucet spout, with the end hanging into the sink. This will guide the water down the string and into the drain, reducing noise. However, this is not a permanent solution and the underlying issue should be addressed.
Q5. How often should I check my faucets for potential leaks?
It’s recommended to perform quick maintenance checks on your faucets every few months. This can help you spot potential issues before they become serious problems, extending the life of your fixtures and preventing water waste. Regular inspections can save both water and money in the long run.


