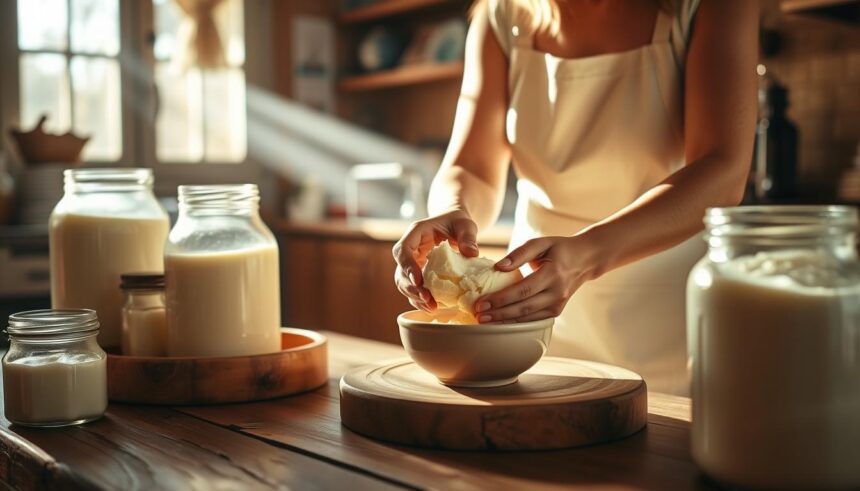
Imagine spreading a pat of freshly churned homemade butter on your morning toast. Or using it to cook a delicious meal. The taste is rich, creamy, and utterly delightful. Making homemade butter is simpler than you think. With our guide, you’ll be on your way to enjoying this delightful dairy product in no time.
- The Magic of Making Butter at Home
- Essential Ingredients for Homemade Butter
- Equipment You’ll Need
- Preparing Your Workspace and Ingredients
- How to Make Butter: The Complete Step-by-Step Process
- Alternative Methods for Making Butter at Home
- Troubleshooting Common Butter-Making Problems
- Creative Flavored Butter Variations
- Don’t Waste the Buttermilk: Recipes and Uses
- Conclusion
- FAQ
You might be surprised at how easy it is to create your own DIY butter making experience at home. Not only will you have control over the ingredients. But you’ll also get to enjoy the satisfaction of creating something delicious from scratch.
Key Takeaways
- Learn the simplicity of making homemade butter at home.
- Understand the benefits of creating your own dairy products.
- Discover a step-by-step guide to making delicious homemade butter.
- Enjoy the satisfaction of cooking with freshly made ingredients.
- Start your DIY butter making journey with confidence.
The Magic of Making Butter at Home
Churning your own butter is truly special. It’s easier than you think. Making butter at home lets you control the ingredients, quality, and flavor. This ensures a freshness that’s hard to find in store-bought butter.
Benefits of Homemade Butter
Homemade butter has many benefits. It offers customization and freshness. You can add salt or other flavorings to create a unique taste that complements your cooking. Plus, making butter is a fun and educational experience for the whole family.
By making your own butter, you also avoid preservatives found in commercial butters. This makes it a healthier choice for those who are conscious about their diet.
Understanding the Science Behind Butter Making
The science behind butter making is fascinating. Churning cream causes the fat molecules to clump together. This separates them from the liquid (buttermilk). This process, known as churning, requires patience and some elbow grease, but the result is well worth the effort.
Understanding this process can help you achieve the perfect consistency and flavor in your homemade butter. This makes the experience even more rewarding.
Essential Ingredients for Homemade Butter
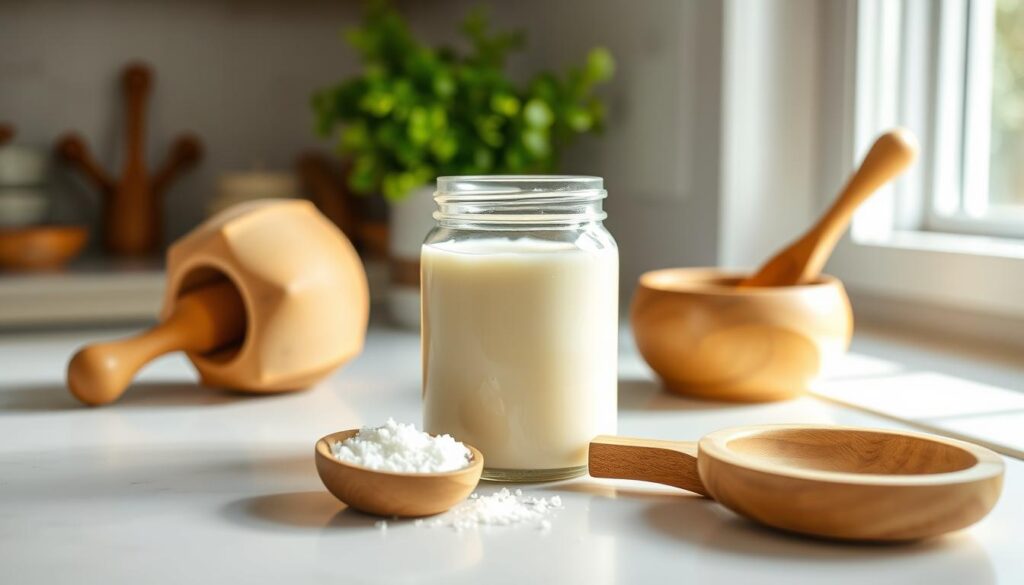
The secret to making great homemade butter is in the cream. The quality of your cream affects the taste of your butter.
Choosing the Right Cream
For a top-notch butter recipe, you need heavy cream with lots of fat. Choose cream labeled “heavy” or “whipping” for the best results.
Understanding Fat Content and Quality
The fat in your cream matters a lot. Go for cream with at least 35% fat. This makes churning easier and your homemade butter tastes better.
Optional Ingredients for Flavored Butter
Once you get the hang of making butter from scratch, try adding flavors. You can mix in:
- Herbs like chives or parsley for a fresh twist
- Garlic for a savory flavor
- Honey or maple syrup for a sweet treat
Equipment You’ll Need
Making butter at home starts with the right tools. The right equipment makes the process smoother and ensures great results.
Traditional vs. Modern Butter-Making Tools
Traditionally, people used wooden churns or jars to make butter. Now, electric mixers or food processors are common. Traditional methods are hands-on and nostalgic. Modern tools are quicker and easier.
Household Alternatives for Specialized Equipment
You don’t need special tools to make butter. A stand mixer or handheld electric mixer works well. If you don’t have these, a food processor or a jar with a tight lid can also work.
Preparing Your Tools for Best Results
It’s key to prepare your chosen tool well. Clean and dry electric mixers and food processors are best. If using a jar, make sure it’s clean and has a tight lid to avoid spills.
Choosing the right equipment and preparing it right will help you make delicious homemade butter.
Preparing Your Workspace and Ingredients
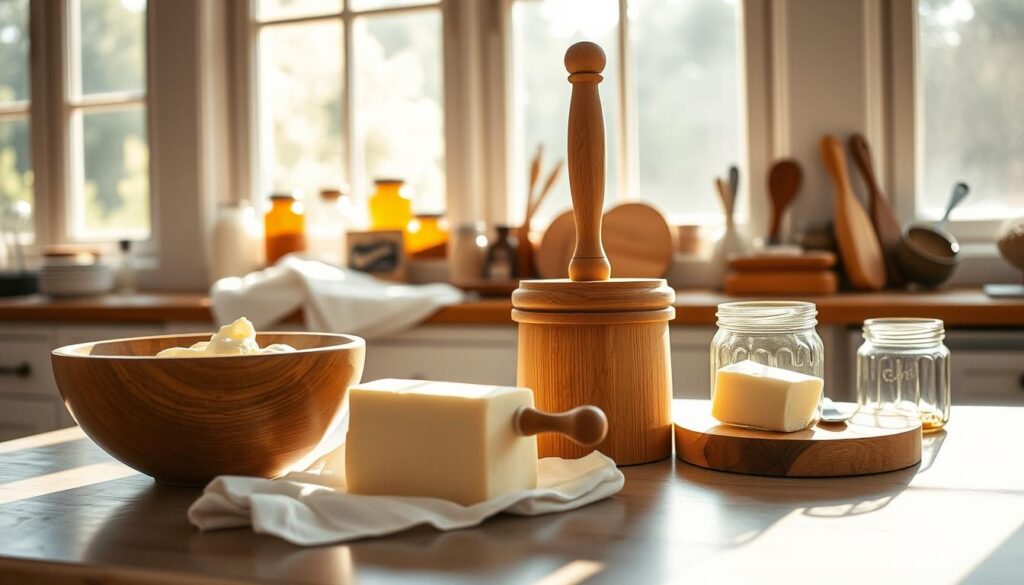
Before you start making butter, it’s key to get your workspace and ingredients ready. This makes the butter-making process smooth and fun. You’ll also get high-quality homemade butter.
Temperature Considerations for Optimal Results
The cream’s temperature is very important for making butter. It should be around 55°F to 60°F (13°C to 15°C) for the best results. If it’s too cold, it won’t churn right. If it’s too warm, it might turn into butter too fast.
Sanitizing Your Equipment
It’s important to clean your equipment well to avoid contamination. Wash your tools and equipment with hot soapy water. Then, sanitize them with a mix of water and white vinegar. This keeps your butter fresh and safe to eat.
Setting Up for Minimal Mess
To avoid making a mess, cover your workspace with a big bowl or a splatter guard. Have a clean towel ready to wipe up any spills right away. Organizing your space this way makes butter-making easier and more fun.
| Preparation Step | Importance | Tips |
|---|---|---|
| Temperature Control | High | Ensure cream is between 55°F to 60°F (13°C to 15°C) |
| Sanitizing Equipment | High | Wash with hot soapy water, then sanitize with water and vinegar |
| Minimizing Mess | Medium | Cover workspace, keep a clean towel handy |
How to Make Butter: The Complete Step-by-Step Process
Making homemade butter is a fun DIY project that’s easy to do. With just a few steps, you can make butter from scratch. Enjoy the rich, creamy flavor it offers.
Step 1: Preparing the Cream
To begin, prepare your cream. Use high-quality, heavy cream with at least 35% fat. Chill it in the fridge overnight. This makes the churning easier.
Step 2: The Churning Process
Pour the chilled cream into your churning device. This could be a stand mixer, food processor, or traditional churn. Start at a medium speed. Keep going until you see the cream change.
Step 3: Identifying the “Breaking Point”
Keep churning until the cream thickens and breaks down. This is the “breaking point.” It’s when the cream separates into butter and buttermilk.
Step 4: Separating Buttermilk
Once you hit the breaking point, stop churning. Drain the buttermilk into a separate container. You can use it for baking or cooking.
Step 5: Washing the Butter
Rinse the butter under cold water. This removes buttermilk and improves flavor and shelf life.
Step 6: Adding Salt (Optional)
If you want salted butter, add salt now. Mix it well for even flavor.
Step 7: Forming and Storing
Shape the butter into a log or block. Wrap it in parchment or wax paper. Store it in the fridge. Homemade butter lasts about a week when stored right.
| Step | Description |
|---|---|
| 1 | Prepare chilled heavy cream |
| 2 | Churn cream until it thickens and breaks down |
| 3 | Drain off buttermilk |
| 4 | Rinse butter under cold water |
| 5 | Add salt if desired |
| 6 | Shape and store butter |
By following these steps, you can easily churn butter at home. Enjoy the satisfaction of making something delicious from scratch.
Alternative Methods for Making Butter at Home
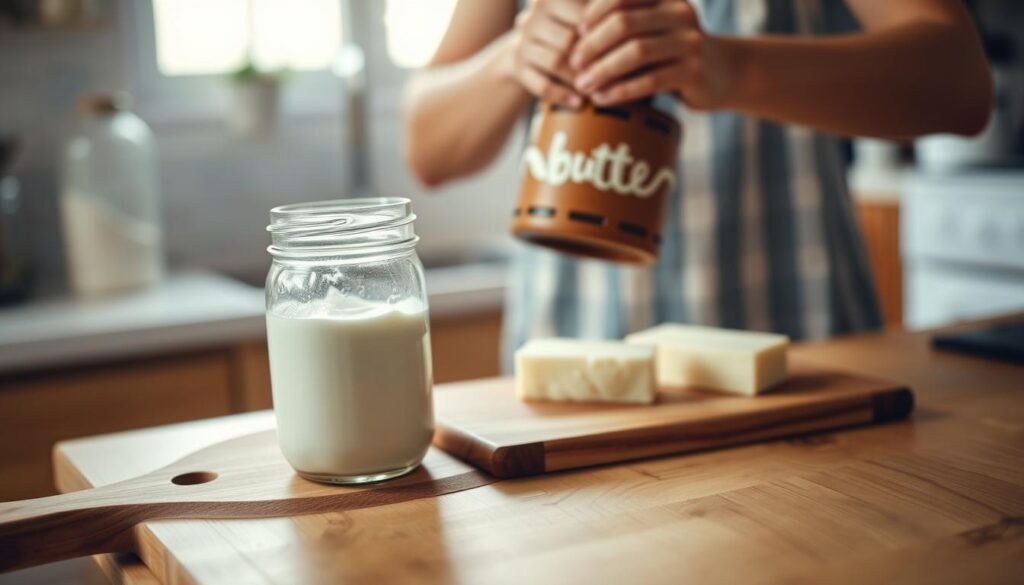
Trying different ways to make butter at home can be fun and rewarding. You don’t need a special butter churn to make delicious homemade butter. Many kitchen appliances and simple tools can help you make butter easily.
Using a Stand Mixer Method
Making butter at home is easy with a stand mixer. Just pour heavy cream into the bowl, beat it on high speed with the whisk, and watch it turn into butter. This method is quick, taking about 5-7 minutes.
Food Processor Method
A food processor is also great for making butter. Pour the cream into the processor and blend until it thickens and separates into butter and buttermilk. Be careful not to over-process.
The Jar Shaking Technique
For a hands-on approach, try shaking a jar of cream. Fill a jar halfway with heavy cream and shake it hard until it thickens and separates. This method is fun, perfect for kids.
Traditional Butter Churn Method
For a more authentic experience, use a traditional butter churn. This old-fashioned method churns cream until it separates into butter and buttermilk. It’s a bit harder but very rewarding.
| Method | Time Required | Effort Level |
|---|---|---|
| Stand Mixer | 5-7 minutes | Low |
| Food Processor | 3-5 minutes | Low |
| Jar Shaking | 10-15 minutes | High |
| Traditional Churn | 20-30 minutes | High |
Each method has its own benefits, depending on your tools and preferences. Whether you want ease, tradition, or a fun activity, making butter at home is simple and rewarding.
Troubleshooting Common Butter-Making Problems
Making butter at home can have its challenges. But don’t worry, we’re here to help you through them.
Butter Not Forming: Causes and Solutions
If your butter isn’t forming, it might be because the cream is too cold or too warm. Make sure your cream is between 55°F to 60°F (13°C to 15°C) for the best churning. Also, use cream with a high fat content.
- Use heavy cream with a fat content of at least 35%
- Avoid over-churning, as it can lead to butterfat breaking down
- Check the temperature of your cream
Butter Tastes Off: Quality Control Tips
If your butter tastes bad, it could be because of low-quality cream or contamination. Always use fresh, high-quality cream and make sure your equipment is clean.
- Check the expiration date of your cream
- Sanitize all equipment before use
- Avoid cross-contamination with strong-smelling foods
Butter Spoiling Too Quickly: Prevention Methods
To keep your butter from spoiling too fast, store it in an airtight container in the fridge. You can also freeze it for longer storage.
- Store butter in an airtight container
- Keep it refrigerated at a consistent temperature
- Consider freezing for longer storage
Texture Issues and How to Fix Them
If your butter has the wrong texture, it might be because you over-churned or didn’t get the temperature right. Adjust your churning time and temperature to get the right consistency.
By following these tips, you can fix common butter-making problems. Enjoy your homemade butter with confidence.
Creative Flavored Butter Variations
Now that you know how to make butter at home, it’s time to get creative. Try different ingredients to make your cooking and baking better.
Sweet Butter Recipes
Make your butter sweeter with honey, cinnamon, or maple syrup. For example, add a tablespoon of pure honey to your butter for a tasty spread on toast or scones.
Combine softened butter with cinnamon and maple syrup for a sweet compound butter. It’s great on pancakes or waffles.
Savory Compound Butters
For savory lovers, try compound butters with garlic, herbs, or chili peppers. Blend softened butter with minced garlic and a pinch of salt for a tasty topping for grilled meats or veggies.
Adding chopped fresh herbs like parsley or chives gives a fresh flavor. For a spicy touch, mix in chili flakes or diced jalapeños.
Cultured Butter: Adding Depth of Flavor
Cultured butter, made with bacterial culture, has a rich, tangy taste. It not only tastes better but also is more nutritious.
International Butter Specialties to Try
Try international butters like French beurre blanc or Indian ghee. They add an exotic flavor to your dishes and broaden your cooking skills.
By trying these creative butter flavors, you can make your dishes stand out. Impress your family and friends with your cooking skills.
Don’t Waste the Buttermilk: Recipes and Uses
Making butter at home gives you two great things: the butter and tangy buttermilk. The butter is the main attraction, but the buttermilk is also very useful. You can use it in cooking and baking, making your dishes better and reducing waste.
Understanding Real Buttermilk
Real buttermilk comes from churning cream into butter. It’s naturally tangy and adds a special flavor to food. Using fresh buttermilk can make baked goods and savory dishes taste and feel better.
Baking with Fresh Buttermilk
Buttermilk is key in many baked goods, like pancakes, biscuits, and cakes. It makes them light and fluffy. Try it in your favorite recipes or find new ones that use buttermilk. A classic southern-style buttermilk biscuit recipe is a great place to start.
Savory Dishes Enhanced by Buttermilk
Buttermilk is also great for savory dishes. It can marinate chicken, add creaminess to soups, or make a tasty salad dressing. Its tanginess balances out rich flavors, making it a valuable ingredient in many dishes. As
“The best part about making butter at home is the buttermilk you get to use in all your favorite recipes.”
, a seasoned home cook says.
Preserving Extra Buttermilk
If you have more buttermilk than you can use right away, freeze it. You can freeze it in airtight containers or ice cube trays. This way, you can enjoy homemade buttermilk all year long.
Conclusion
You now know how to make butter at home. This simple process lets you control the ingredients and quality. You can make delicious homemade butter for cooking and baking.
Making homemade butter is easy. You need just a few ingredients and basic equipment. Follow the steps in this guide to make high-quality butter without additives or preservatives.
Whether you’re an experienced cook or new to DIY cooking, making homemade butter is a great skill. It adds a personal touch to your recipes. So, try making your own butter at home. You’ll find it’s easy and fun.
FAQ
What type of cream is best for making homemade butter?
Heavy cream with a high fat content is best for homemade butter. Look for “heavy” or “whipping” cream. It has a fat percentage of 35-40%, making the butter richer and creamier.
Can I make butter with low-fat or non-dairy cream alternatives?
Yes, but the results may vary. Low-fat cream churns poorly, and non-dairy alternatives lack richness and flavor. Heavy cream gives the best results.
How long does it take to churn butter at home?
Churning time varies by method and equipment. It takes 5-20 minutes with a stand mixer, food processor, or traditional churn. Be patient, as it’s slow but rewarding.
What’s the best way to store homemade butter?
Store homemade butter in an airtight container in the fridge. You can also wrap it in wax paper or plastic wrap and freeze it. Keep it away from strong-smelling foods to avoid odors.
Can I add flavorings or salt to my homemade butter?
Absolutely! Add salt, herbs, spices, or honey to your butter after washing and draining. This way, you can make unique and delicious compound butters.
How do I know if my homemade butter has gone bad?
Check for signs of spoilage like an off smell, slimy texture, or mold. If you see these, discard the butter. Proper storage and handling can help keep it fresh longer.
Can I make cultured butter at home?
Yes, add a mesophilic cheese culture or buttermilk to your cream before churning. This gives your butter a tangy flavor and complex character. Try different cultures for unique flavors.
What’s the difference between cultured and regular homemade butter?
Cultured butter is fermented, giving it a richer, tangier taste. Regular butter is made with sweet cream and tastes milder and sweeter.


